At Libnamic hosting, we work to ensure that both the web hosting and email experience are exceptional, using the webmail client: Rainloop.
This article is designed to guide our users through the process of setting up an email signature in Rainloop, ensuring professional and personalized communication in every email interaction.
Step 1: Access the Platform
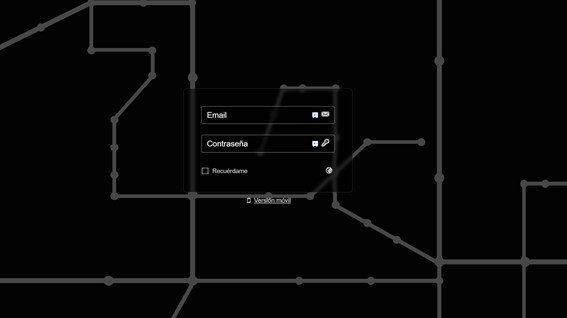
To begin, we will log in to our email account that we have provided. Enter the URL in the web browser and use our login credentials to access the webmail platform.

Step 2: Navigating to the Signature Settings
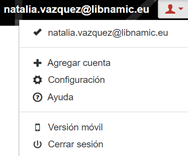
Once inside the platform, we will look for the 'Settings' option. Typically, this option is located in the top right corner of the screen. We will click on this option to access the settings of our email account.

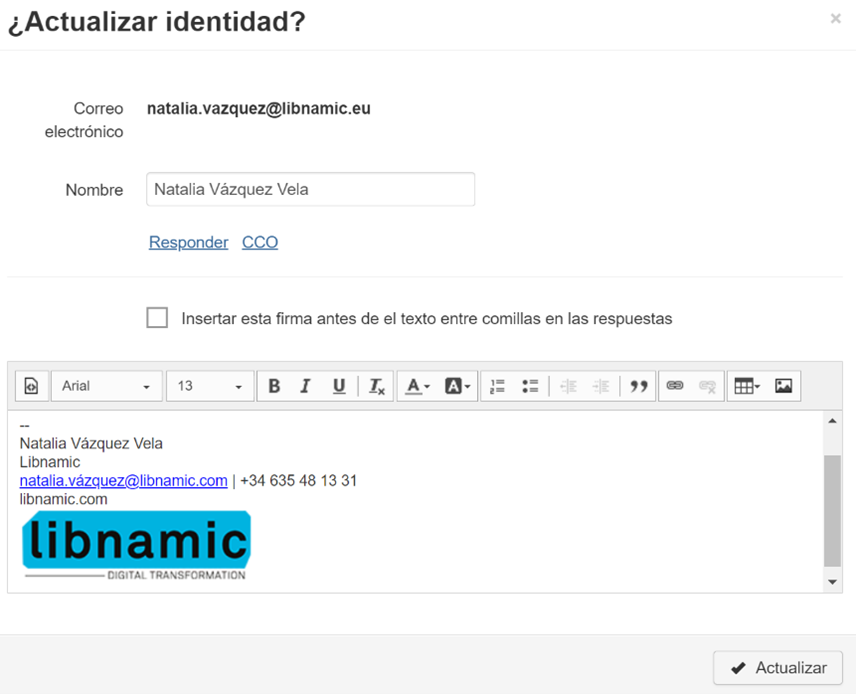
Within the settings section, the 'Identity' section will appear with our name and email address. The next step is to click on our name, and the following window will appear.

Step 3: Customizing the Signature
This is where we can customize the information that will be automatically attached to every email we send. We recommend including professional details such as your name, job title, contact information, and any other relevant elements you wish to share.

"If we are unable to select the different options in the text configurator, all we need to do is click on the "HTML <-> TEXTO" icon .
It also gives us the option to include images in our signature and modify their size and proportion to the preferred dimensions.

Step 4: Save and Verify
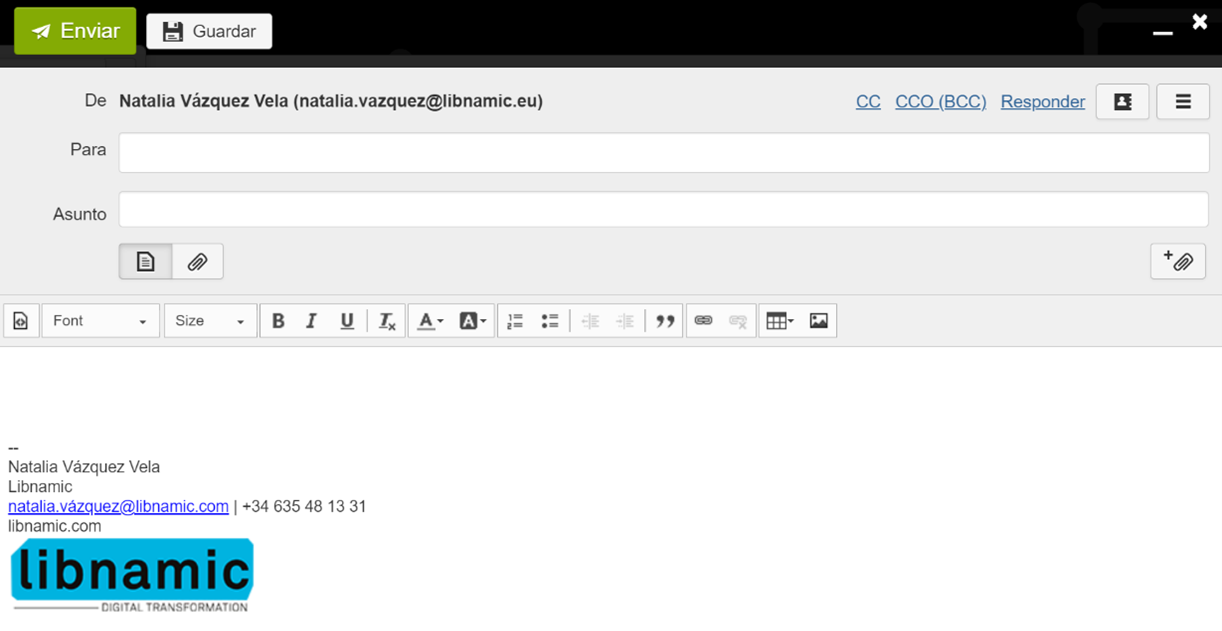
Once we have entered the details of our email signature, we will make sure to save the changes by clicking 'Update.' Then, to ensure that our signature looks as we want it, we recommend sending a test email to ourselves or to an alternative email address.

We now have a customized email signature! Every time we send an email, the signature will be automatically attached, giving a professional appearance and facilitating effective communication with our contacts.
At Libnamic, we take pride in providing high-quality technological solutions to improve the efficiency of businesses. We hope this tutorial has been helpful in setting up your email signature in Webmail. If you have any additional questions or need assistance, don't hesitate to contact our dedicated support team.